Metasploitable is an intentionally vulnerable Linux virtual machine that can be used to conduct security training, test security tools, and practice penetration testing. This article will look at the steps required for installing Metasploitable on Hyper-V.
Downloading Metasploitable
There are a number of versions available for download. We will be using the download available directly from Rapid7 found here. Note that you will need to register an email address before receiving the free download link.
Converting the Image
Metasploitable is packaged in a VMware format. We must first convert it to be Hyper-V compatible. As of 2022, there are a lot of online links to documentation using Microsoft Virtual Machine Converter for this task. Unfortunately, Microsoft abandoned that utility and it is no longer available. We will instead use the free StarWind Converter found here. First unzip the Metasploitable download; Then use the following options for the wizard and finally press “Convert”:
- Local File
- Provide Source Image
- Local File
- Microsoft Virtual Hard Disk (VHD/VHDX)
- VHD Growable Image
- Destination File
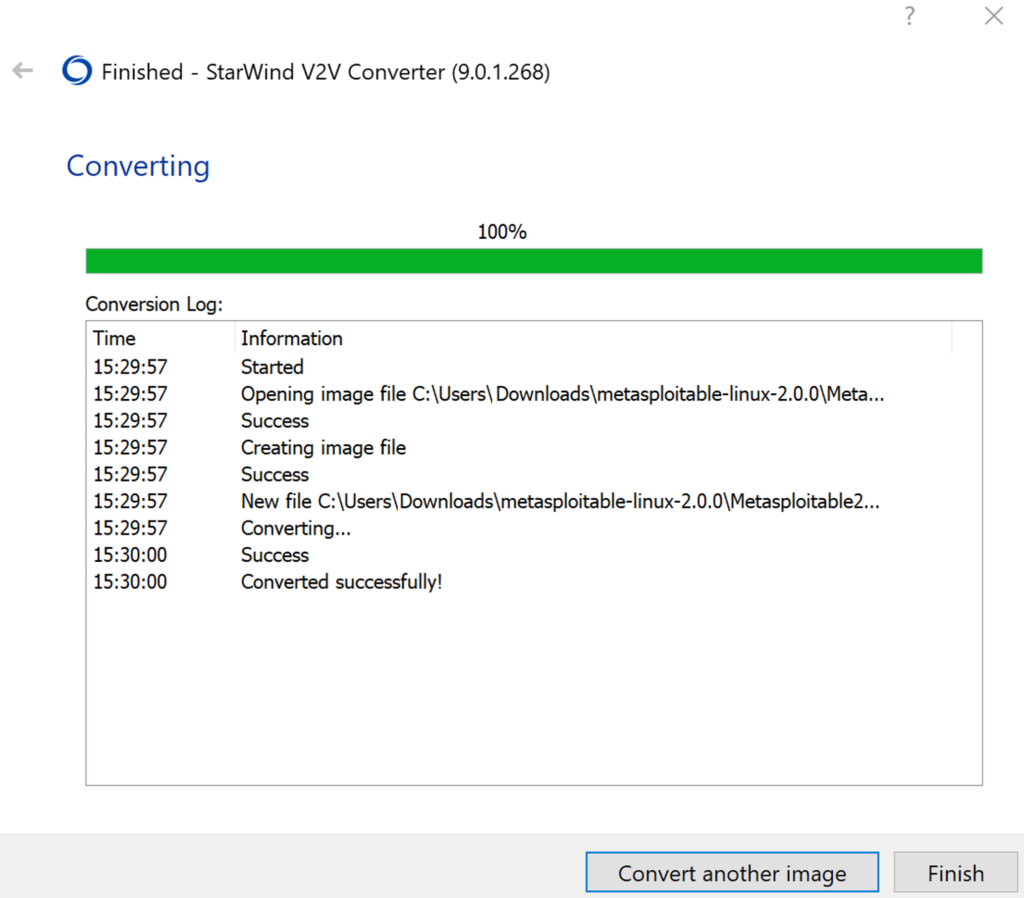
This conversion will generate an image which can be directly imported into Hyper-V in the next step.
Installing Metasploitable on Hyper-V
Following the previous section should result in an image ready to be installed.
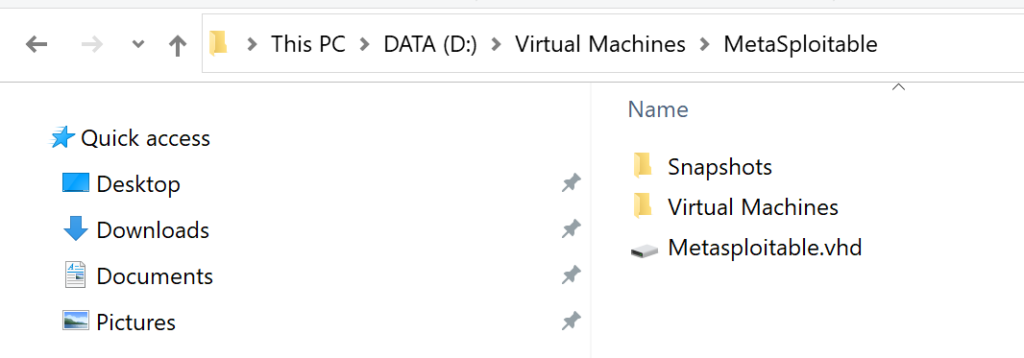
In the Hyper-V application, right click and choose “Import Virtual Machines”. Use the following settings in the wizard:
- Specify Name and Location
- Specify Generation 1
- Assign Memory 2048MB
- Configure Networking: Default Switch
- Connect Virtual Hard Disk: Choose Existing
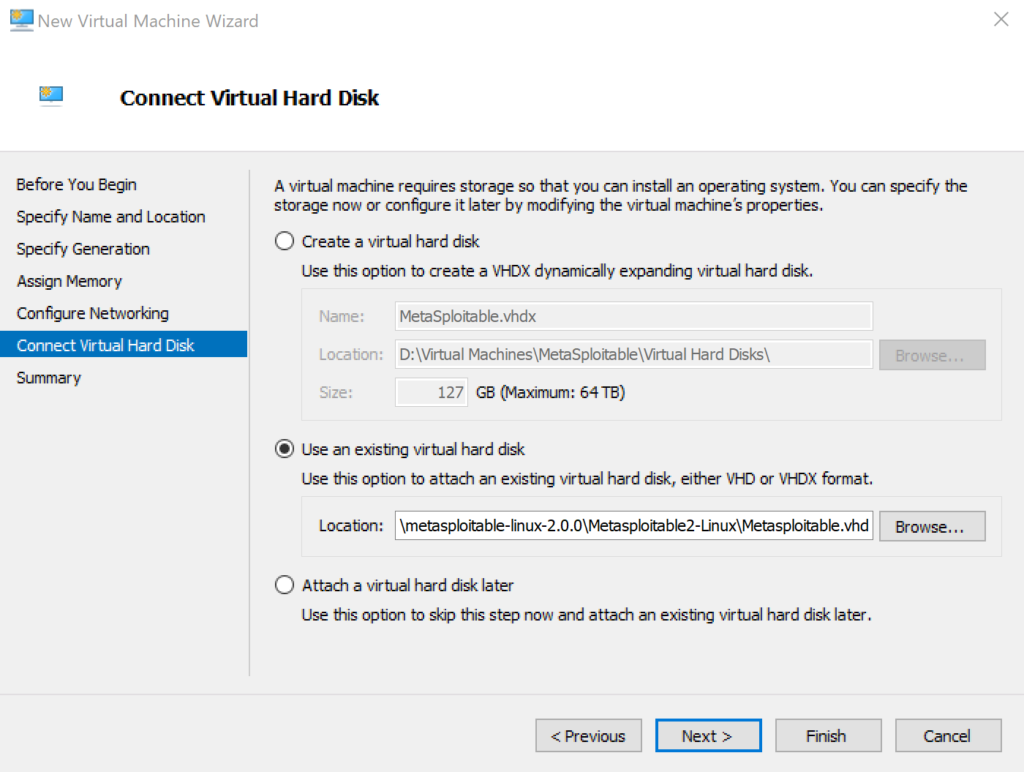
For the last step in the wizard, select the VHD that you previously converted. Finally press “Finish” on the summary page to create the virtual machine.
Changing the VM Network Adapter
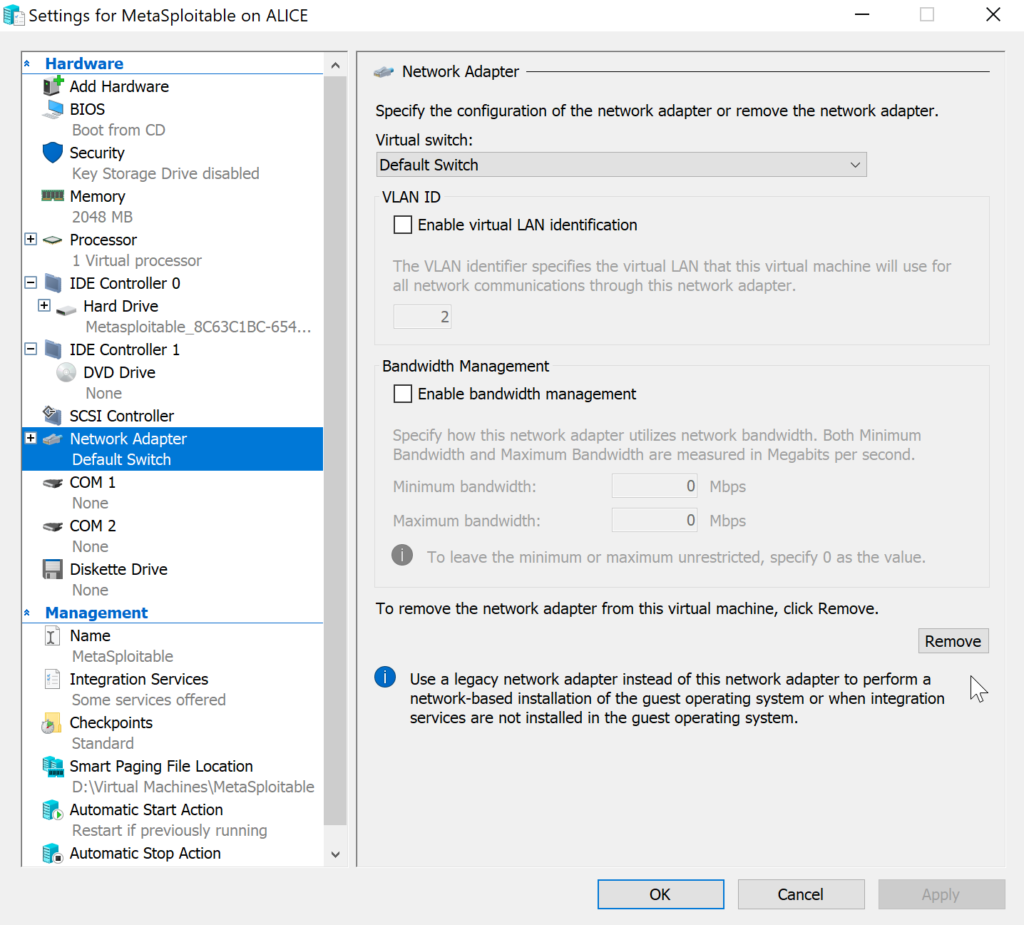
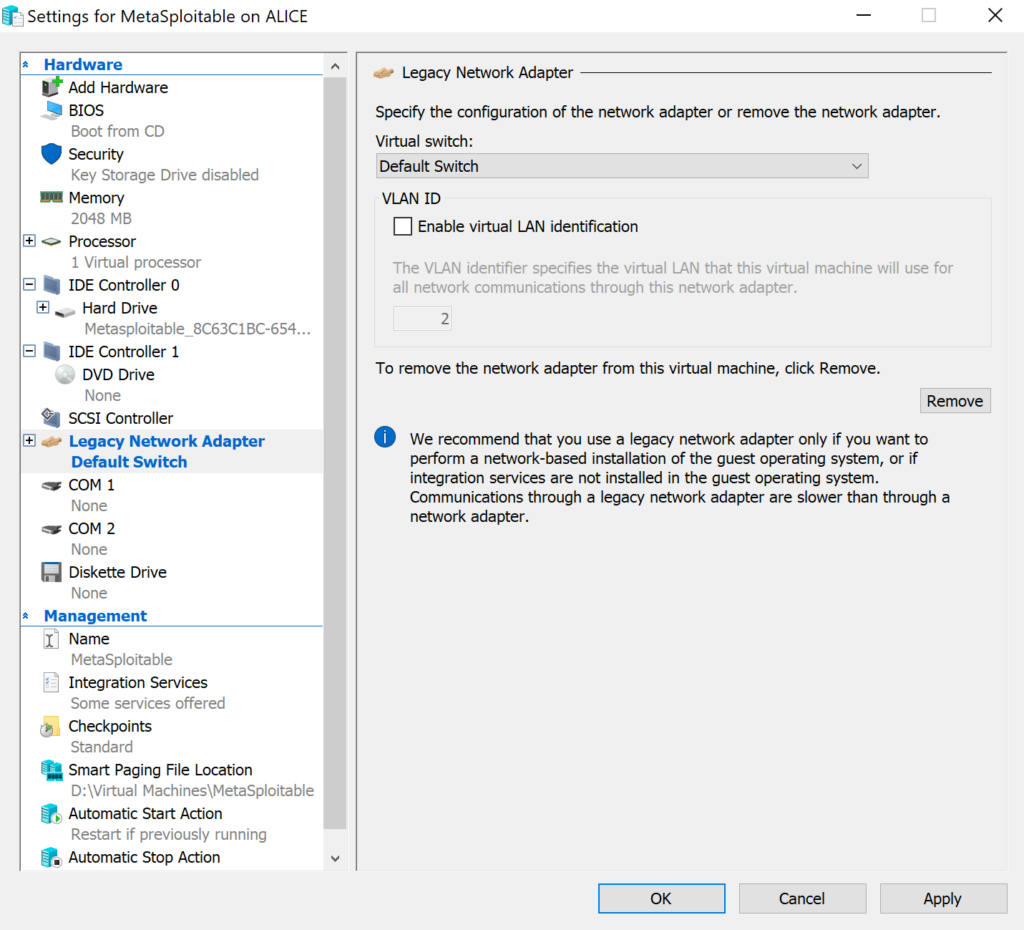
The virtual machine will start but will not connect to a network as configured by default. The setup process creates a network adapter which is not compatible with Metasploitable. To resolve this problem, open the virtual machine settings. First remove the default network adapter and then create a “Legacy Network Adapter” as seen in the images below.
Verifying the Metasploitable Hyper-V VM
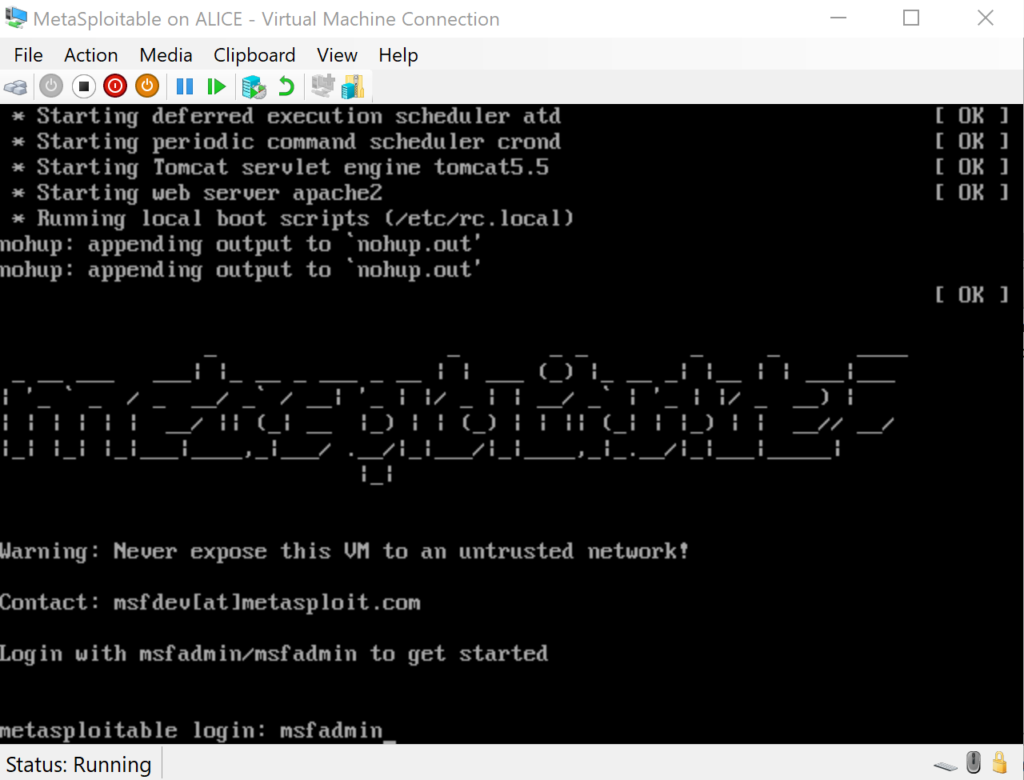
Now that your VM is fully configured, start it from Hyper-V. Once the Linux instance has launched, the username and password are both msfadmin.
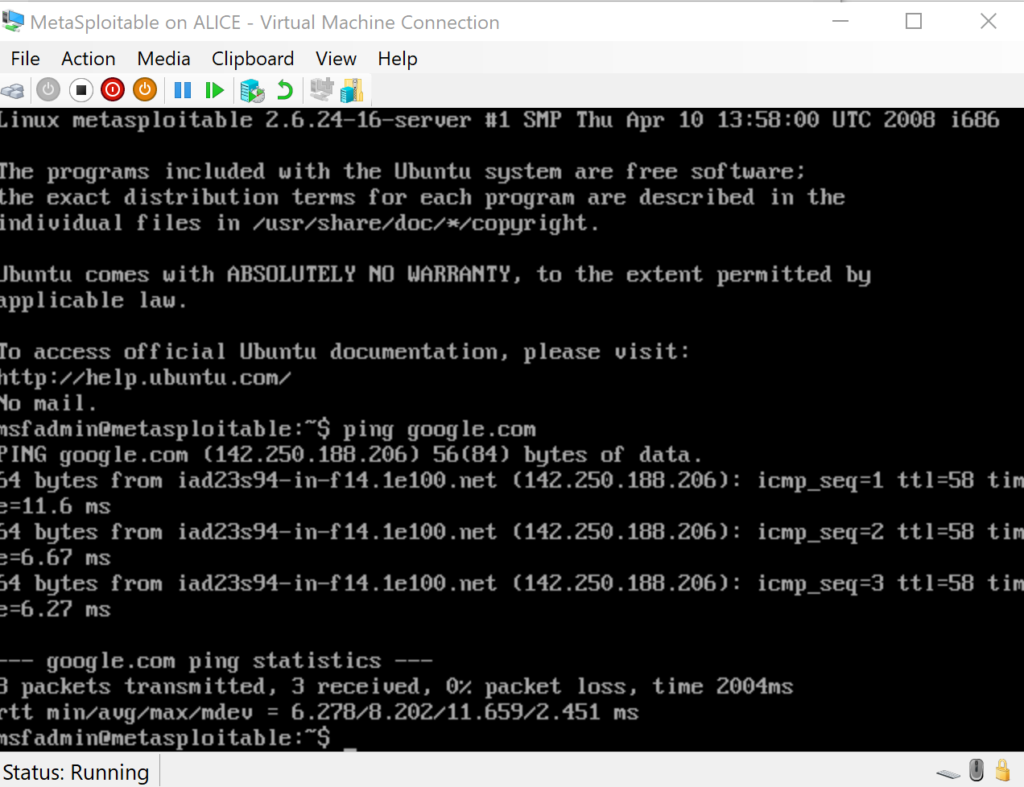
After login you can issue a ping to google to ensure that networking is working correctly.
Your VM is now complete and ready to hack. Rapid7 maintains an exploitation guide found here. Finally, read our guide on installing Kali Linux to build a VM for attacking Metasploitable.

