This article will look at the steps required for building a Windows 10 VM on Hyper-V. Love it or hate it, at some point you will find yourself needing a Windows 10 workstation. Maybe to use as a cybersecurity target, testing a new software install, or for installing business software that will not run on your favorite Linux distro. If this VM will used as a target, see our instructions on building a Kali Linux attack machine in this article on our blog.
Downloading a Windows ISO
Microsoft publishes free Windows virtual machines for testing browser compatibility. Where the intent is to offer browsers for testing, the reality is that they can be repurposed to any need. The caveat is that they are 90 day OS licenses, so don’t plan on maintaining a long-term project on these ISOs. The variants can be downloaded directly from Microsoft here.

Installing a Windows 10 VM on Hyper-V
After downloading your preferred distro in the last section, you are now ready to build the virtual machine. First start by opening the Hyper-V Manager and choosing the option to import a virtual machine.
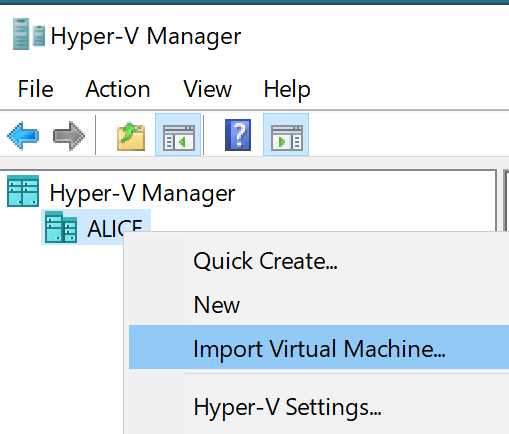
Use the following settings to start the wizard:
- Locate Folder: this will usually be your downloads folder
- Select Virtual Machine: this will only have one option
The next few steps are important to making a functional vm. For the “Import Type” you should select the “Copy” option.
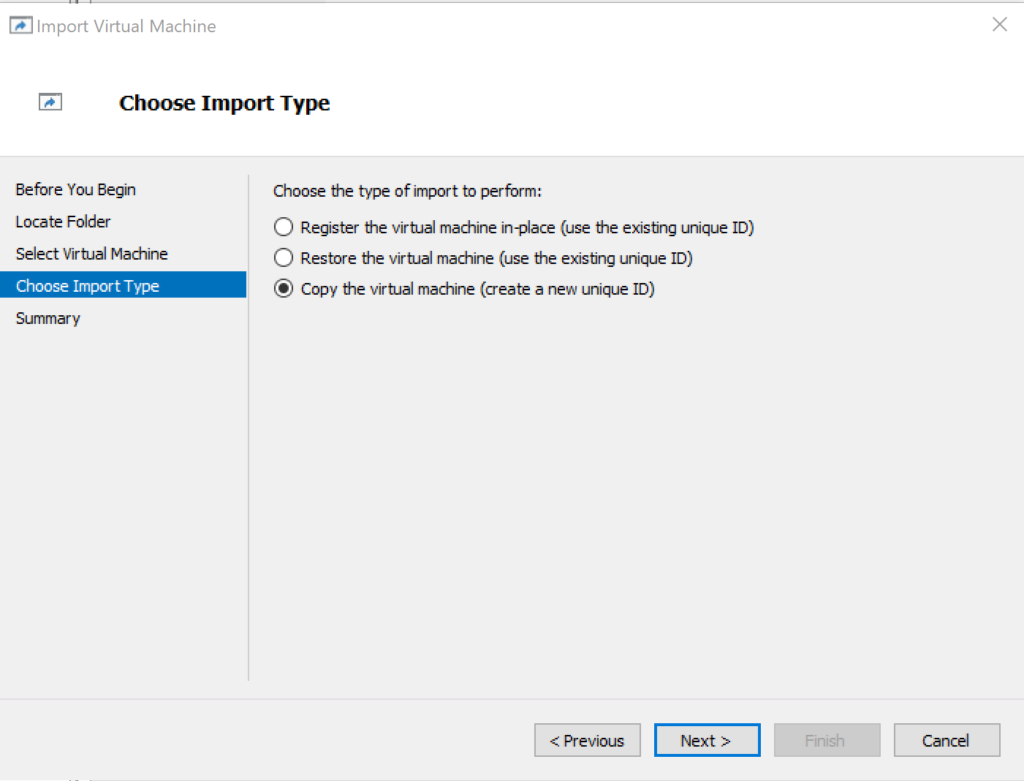
The next two pages of options deal with the vm destination. Mileage may vary based on your host, but most users tend to install their virtual machines on a larger secondary drive.
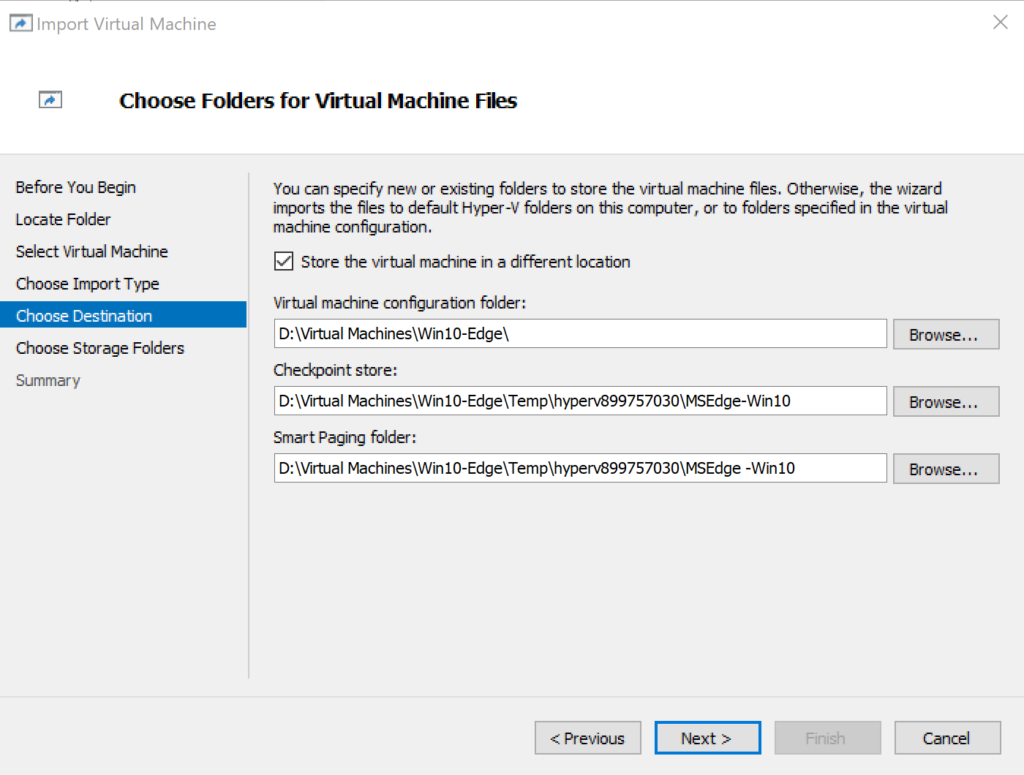
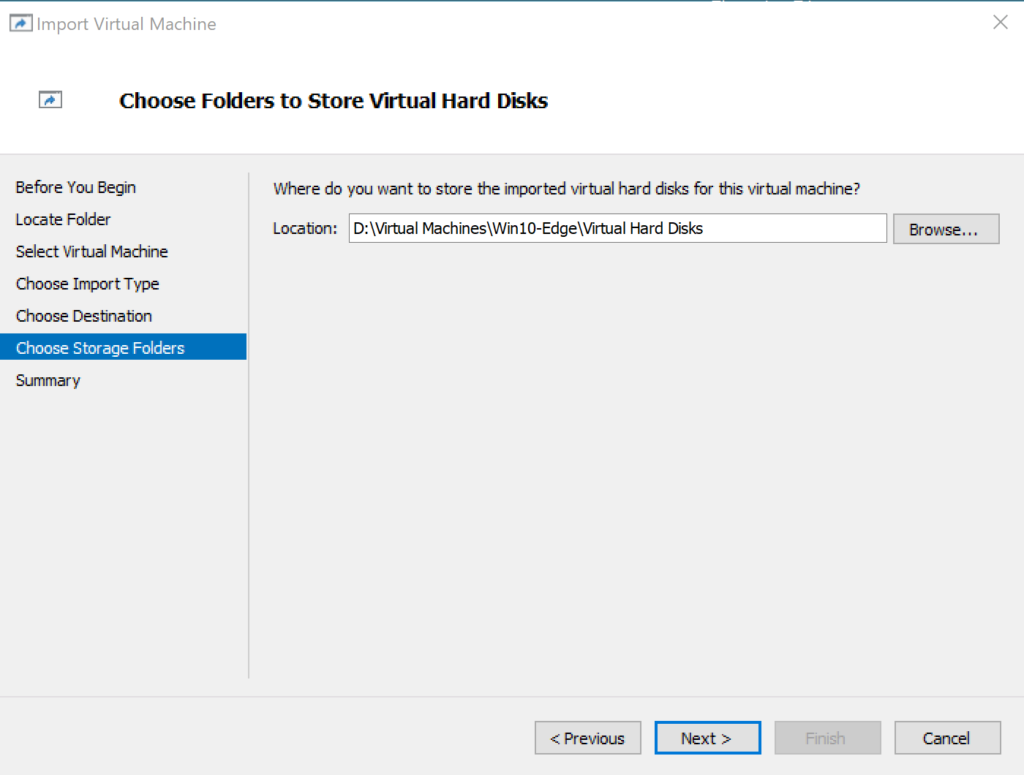
Finally click “Finish” on the Summary tab to kick-off the installation.
Logging In
After the virtual machine has completed installation, you can select the “Connect To” and “Start” options from the Hyper-V Manager to launch Windows. This will bring you to the login screen which requires a password.
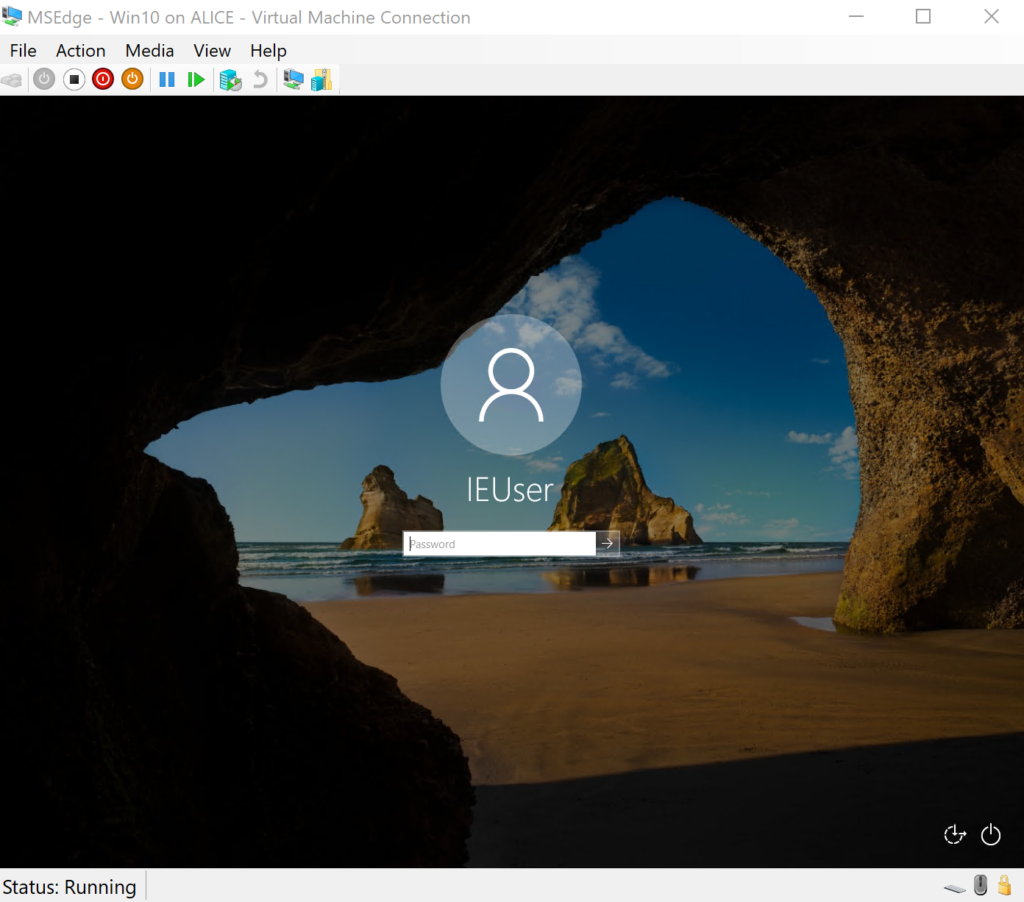
The password is predefined in the ISO and displayed on the original download page from Microsoft. At this time of writing this blog article, the default password to your new virtual machine is “Passw0rd!”
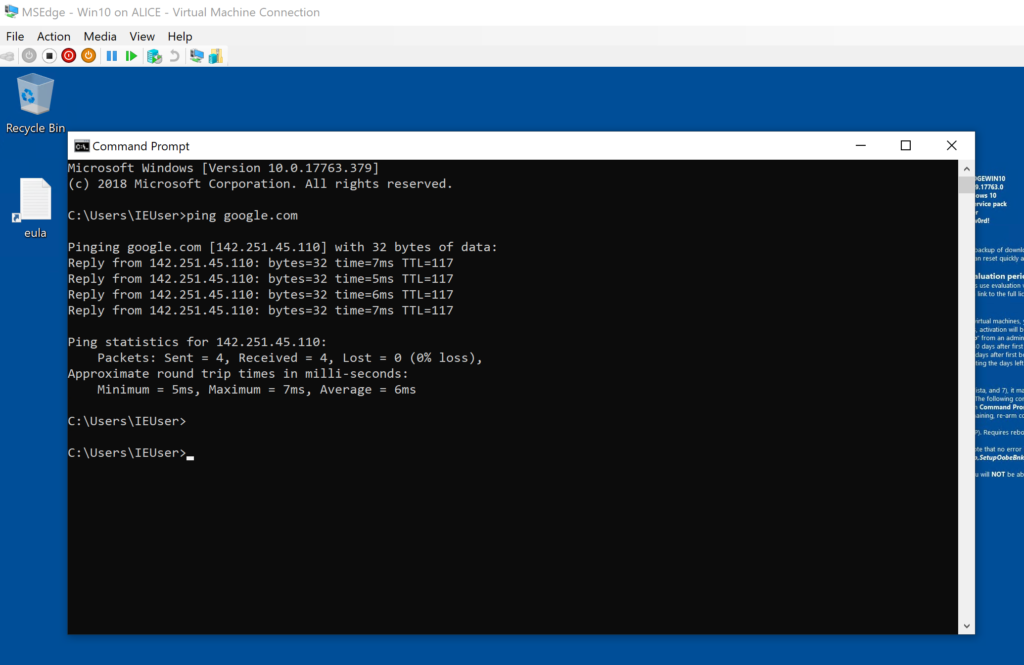
As a final step, is always good to make sure networking is functioning properly. After a quick ping test, you are good to go…
