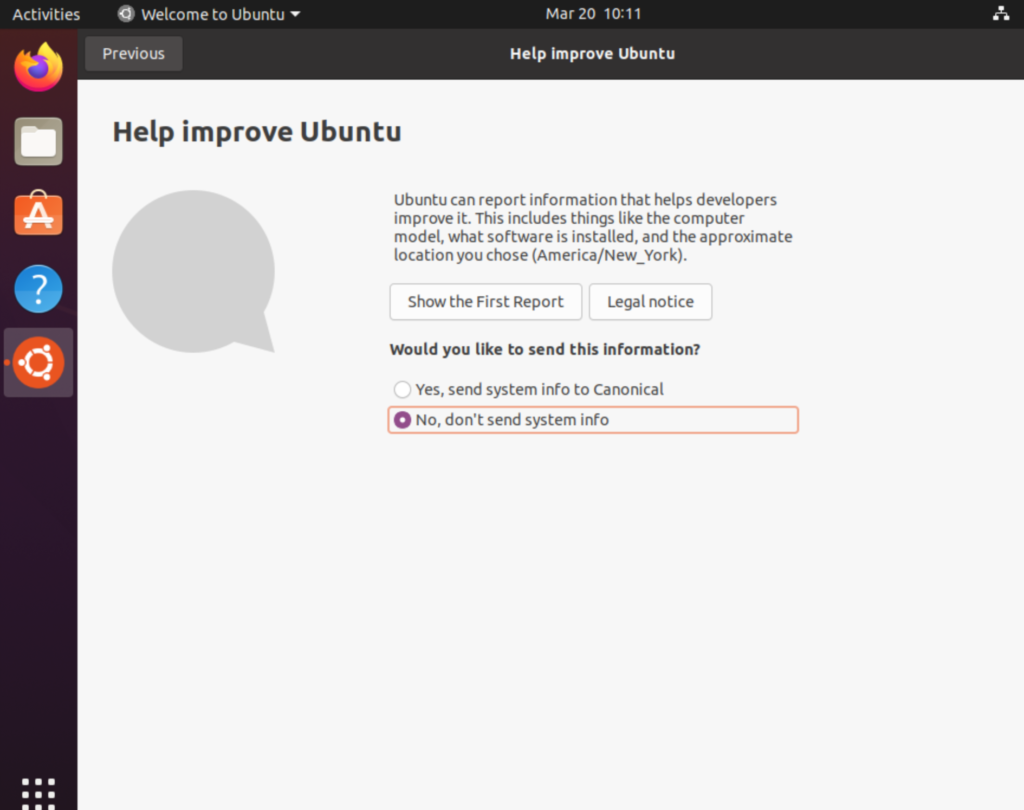
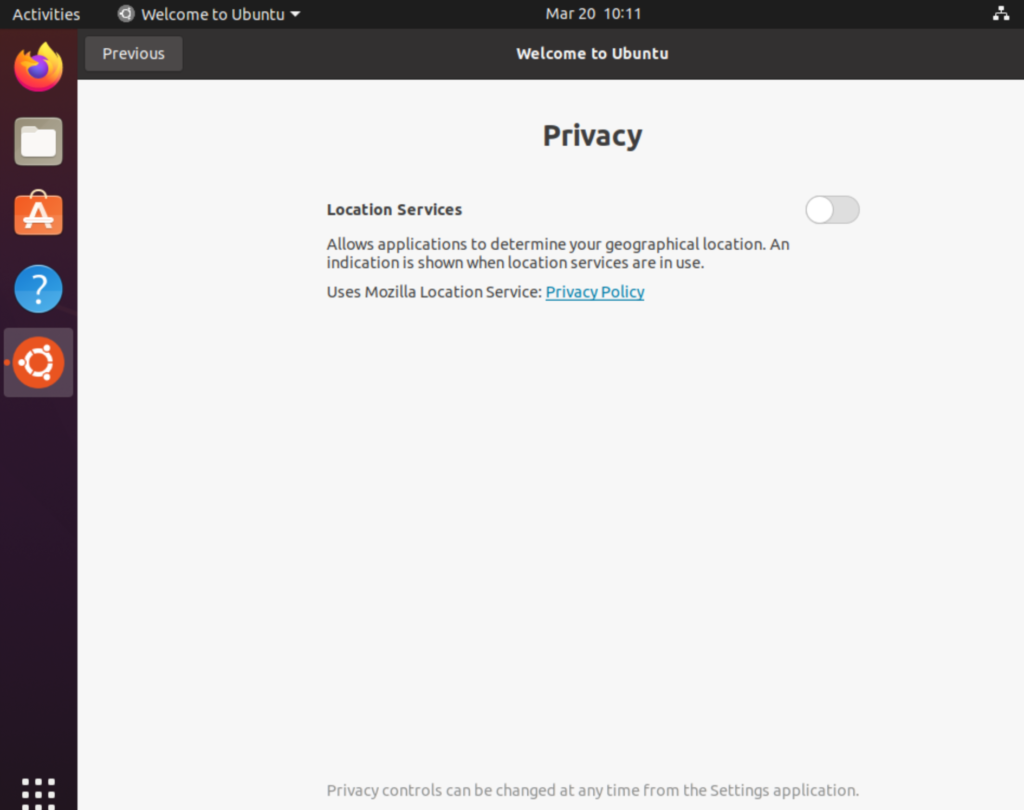
This article will look at the steps required for installing Ubuntu on Hyper-V. We will focus on a vanilla build using Ubuntu LTS 20.04. This virtual machine could be used for a variety of purposes as-is. In later articles we will build on this simple foundation to create an open source intelligence (osint) platform for performing research on the internet with privacy. If you are interested in cybersecurity, you could follow this article to build a Kali Linux attack machine and use Ubuntu as the target.
Installation Overview
Installing Ubuntu on a Windows 10 workstation using Hyper-V involves the following steps:
- Download the Ubuntu ISO image
- Configure a new Hyper-V Virtual Machine
- Install and Configure Ubuntu Operating System
- Login to the Ubuntu Linux VM
Next we will download the operating system.
Downloading Ubuntu 20.04 LTS
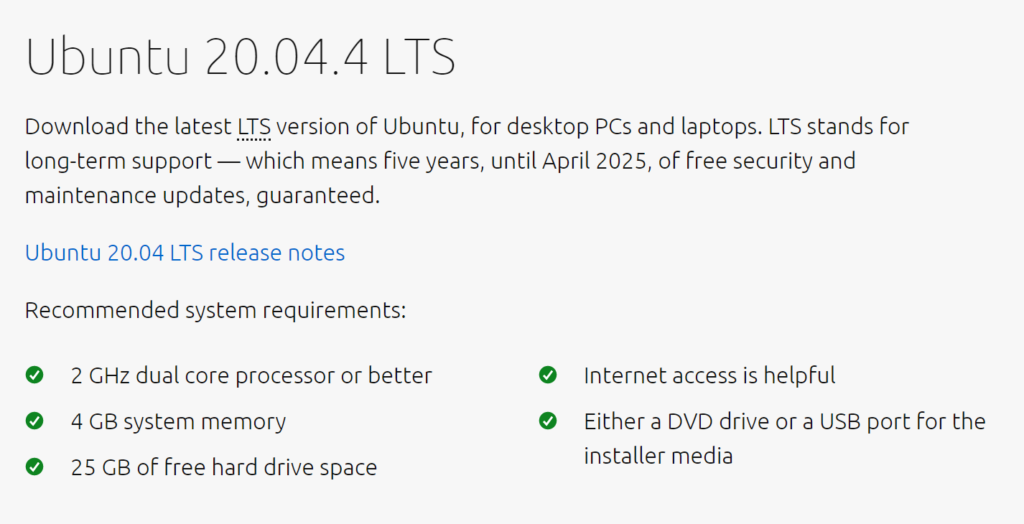
Ubuntu can be downloaded from here. For this article we will be using the most recent long-term support (LTS) version available. After installation we will update and upgrade to apply the most recent security patches.
Configure a new Hyper-V Virtual Machine
If you have not done so already, please follow the Microsoft documentation for enabling Hyper-V. Run the Hyper-V application, then right-click your workstation and select “New | Virtual Machine.”
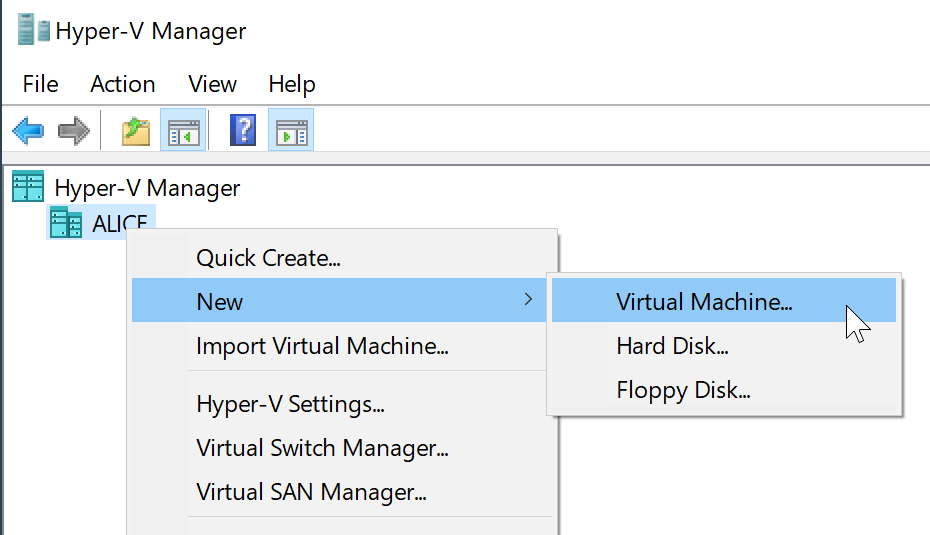
You must complete several screens of options in order to configure the VM. Several steps worth noting include:
- Specify Name and Location
- Specify Generation: 2
- Assign Memory: 4096MB
- Configure Networking: Default Switch
- Connect Virtual Hard Disk: 25GB
- Installation Options: configure to use the downloaded ISO image
Finally press “Finish” on the summary page to create the virtual machine.
Disable Secure Boot Option
Since we selected a second generation vm in the last section, there is one more step to complete. Open the vm settings, and uncheck the “Enable Secure Boot” option under Security. Without completing this step, the Linux OS will not boot from the ISO.
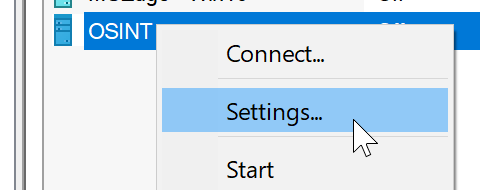
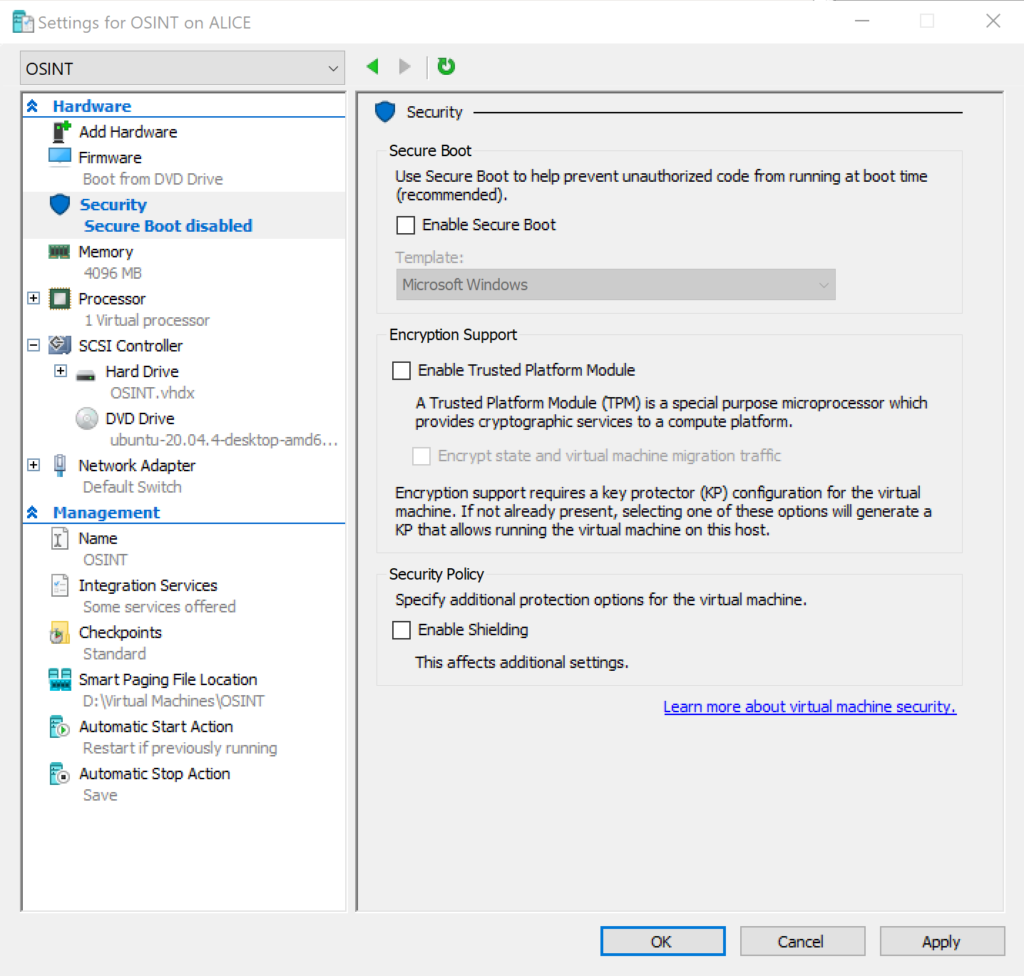
Secure Boot is a feature available with generation 2 virtual machines that helps prevent unauthorized firmware, operating systems, or Unified Extensible Firmware Interface (UEFI) drivers (also known as option ROMs) from running at boot time. Secure Boot is enabled by default.
microsoft
Install and Configure Ubuntu on Hyper-V
Right-click on the newly created VM and select Connect followed by Start. Select the option for “Install Ubuntu“.
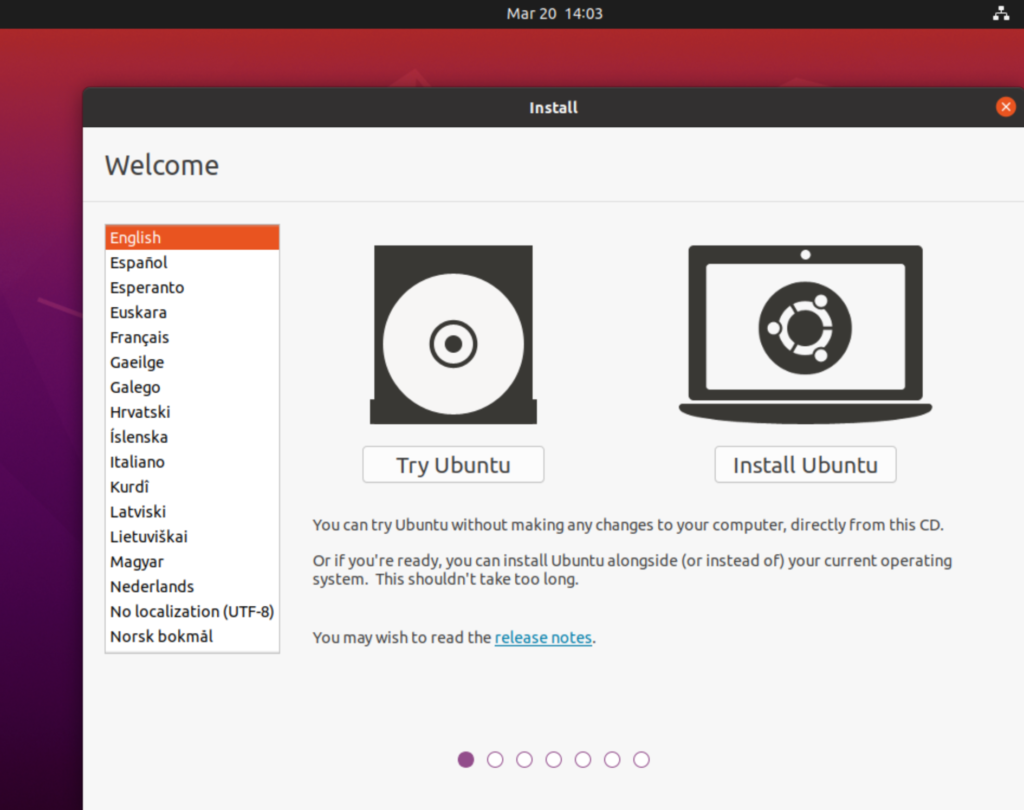
There are several configuration screens that follow. Fortunately most steps can use default values on your own preferences. We will show the non-default values below.
For updates and other software, choose either a normal or minimal installation. Either will work, but a minimum will allow you to install only the features you need. Also be sure to check the box for installing third-party software.

For the “Who are you” page, be sure to select a username and strong password. We entered “osint” across the board because our vm was disposable. This simple scheme is not recommended for a long-living virtual machine.
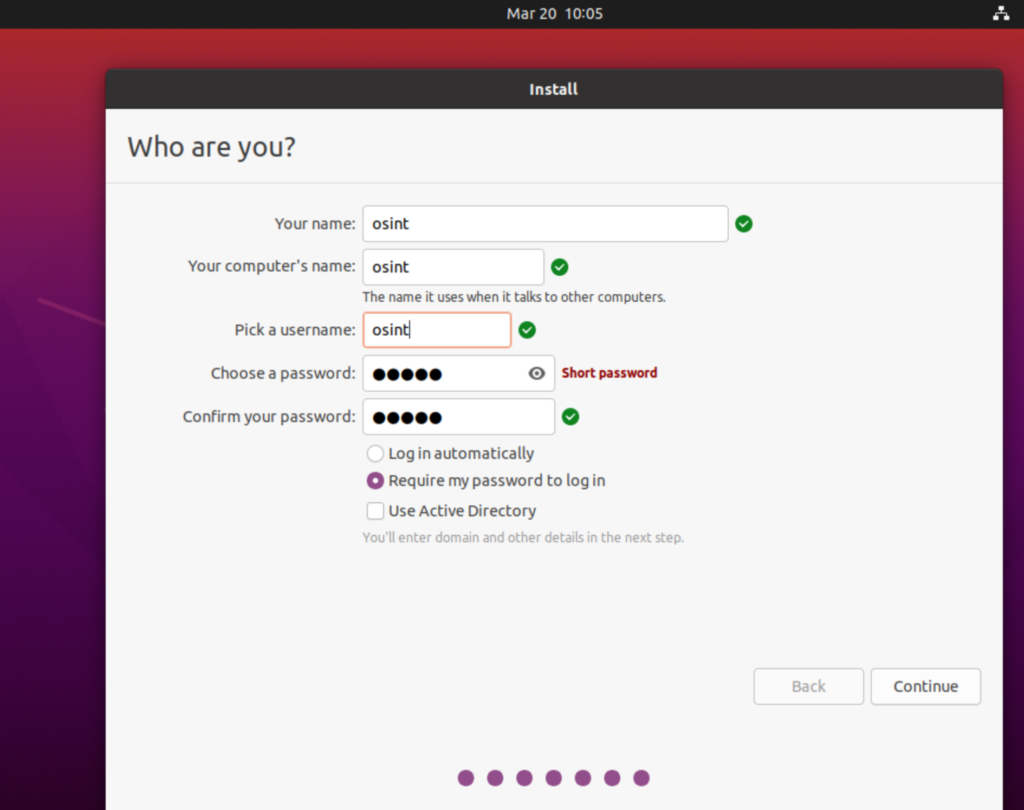
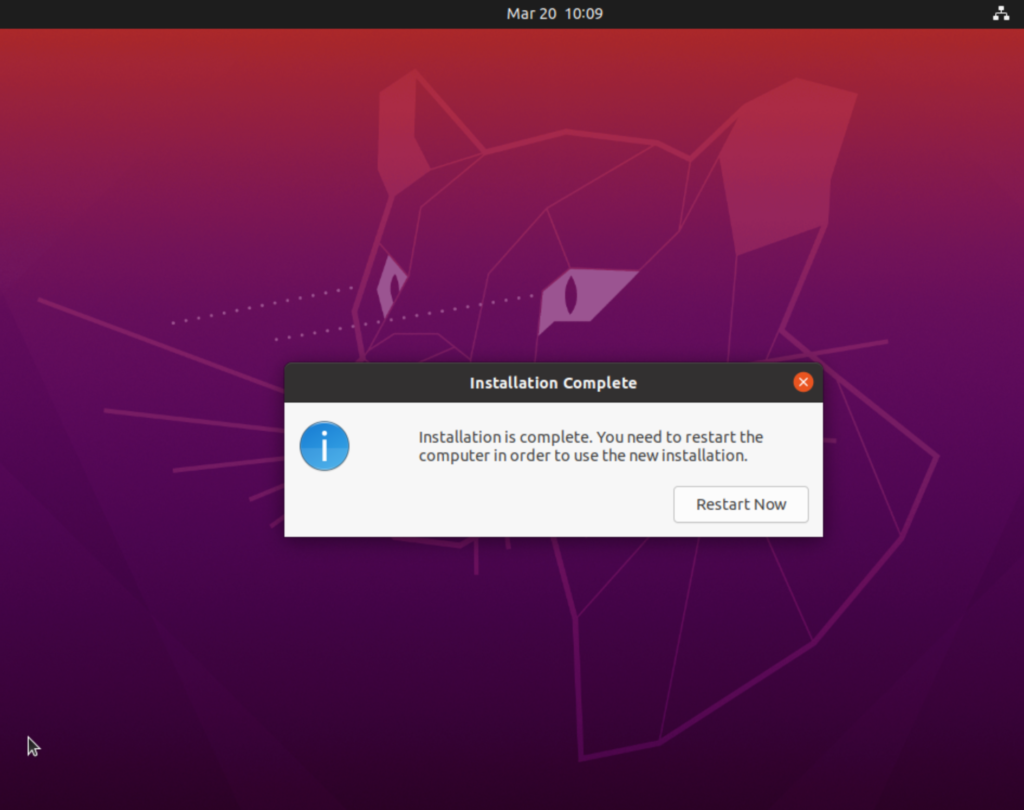
After completing the setup pages, you will be prompted to restart the machine.
Configure Personal Settings
Previously you rebooted the vm and are back at a login screen. Finish out your personal settings to complete your installation of ubuntu on Hyper-V. Your settings will depend entirely on how you intend to use the vm. If you are using this as a personal workstation, feel free to configure the settings for your accounts. Since we will be updating this virtual machine in future blog articles, we will not be including any personal information.


