Building Apache Tomcat from source is easy, and is the first step to building your own Tomcat mods. Comprehensive instructions are provided by Apache in the BUILDING.txt file. This article will augment those steps with screenshots and a few helper scripts to make the job a bit easier. If you haven’t already done so, provision a plain Linux virtual machine. Directions for this process can be found in this article.
What is Apache Tomcat?
If you are reading this article and do not already know the answer to this question, you are probably in the wrong place. Apache Tomcat is a web container. It is a free open source implementation of the Jakarta Servlet, Jakarta Server Pages, Jakarta Expression Language, Jakarta WebSocket, Jakarta Annotations and Jakarta Authentication specifications. In a nutshell, Tomcat provides an HTTP web server environment for hosting Java code.
Virtual Machine Setup
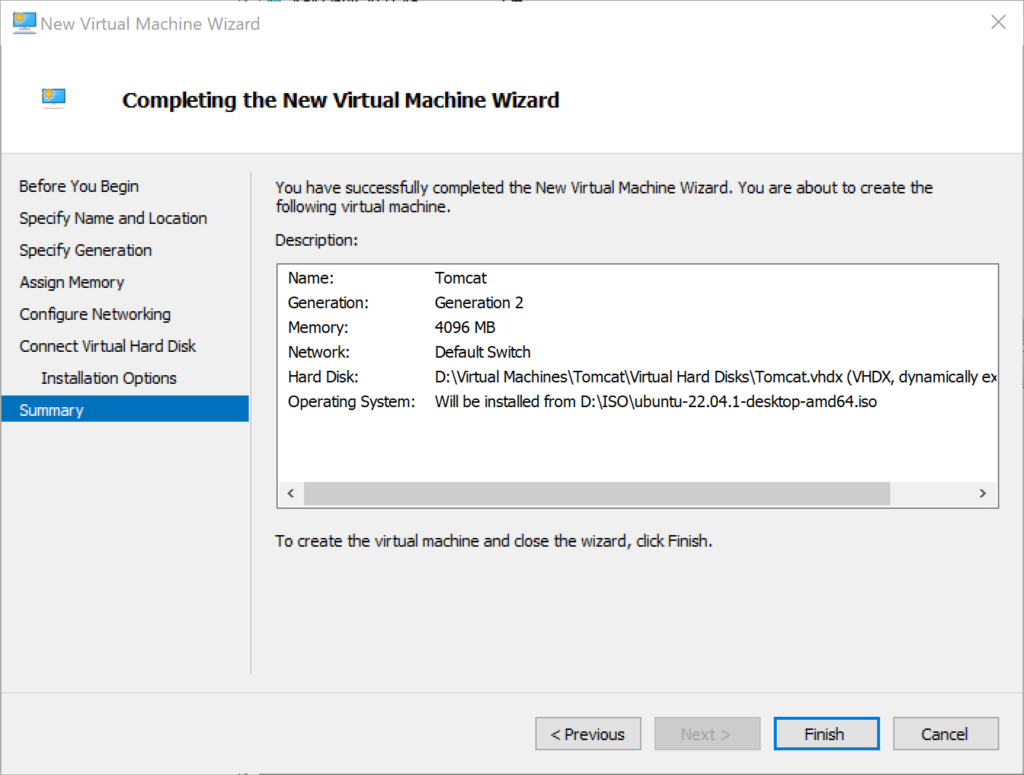
As mentioned earlier, directions for creating an Ubuntu virtual machine can be found here. We will use that same process to create a standard Linux workstation with the following specifications:
- OS: Ubuntu 22 LTS (although any modern version will be fine)
- Minimal installation
- RAM: 4GB
- Drive: 20GB
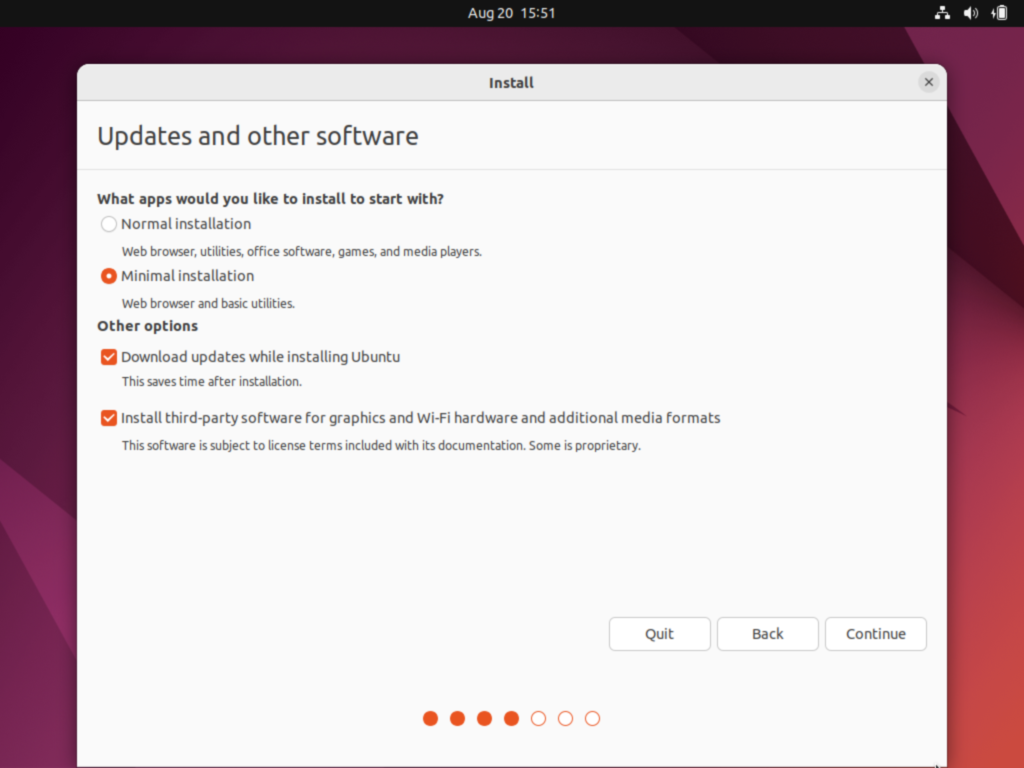
Next we install the tools needed to compile Tomcat by cloning a helper repository maintained by AttainIT Technologies.
$ cd ~
$ sudo apt install git -y
$ git clone https://github.com/AttainIT-Technologies/vm-bootstrap-ubuntu.git
$ cd tomcat-dev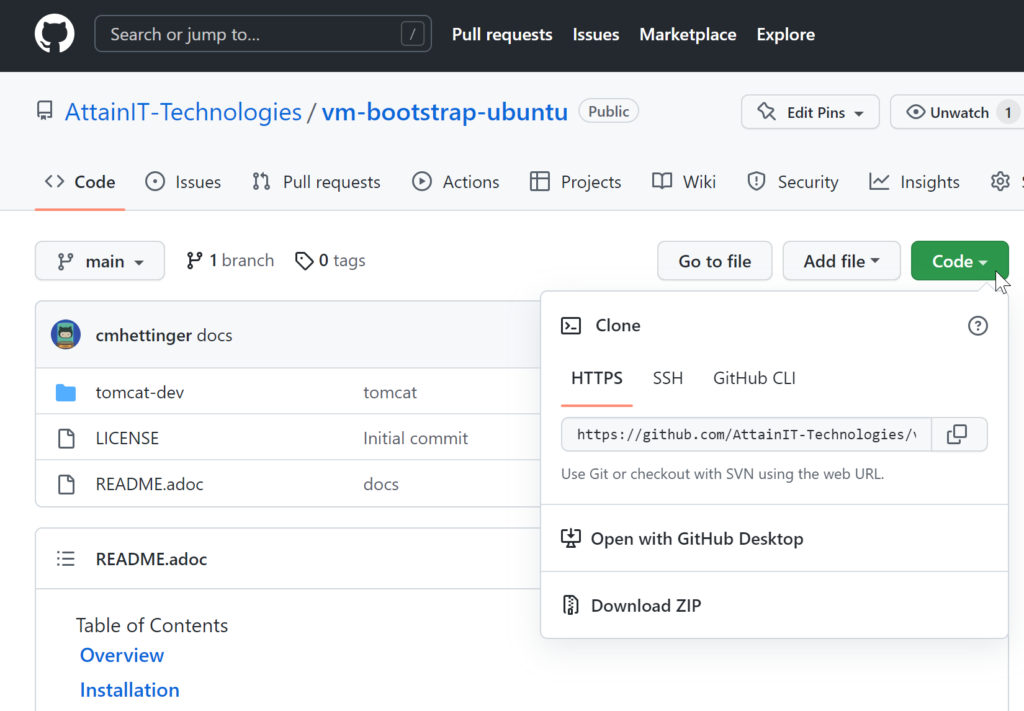
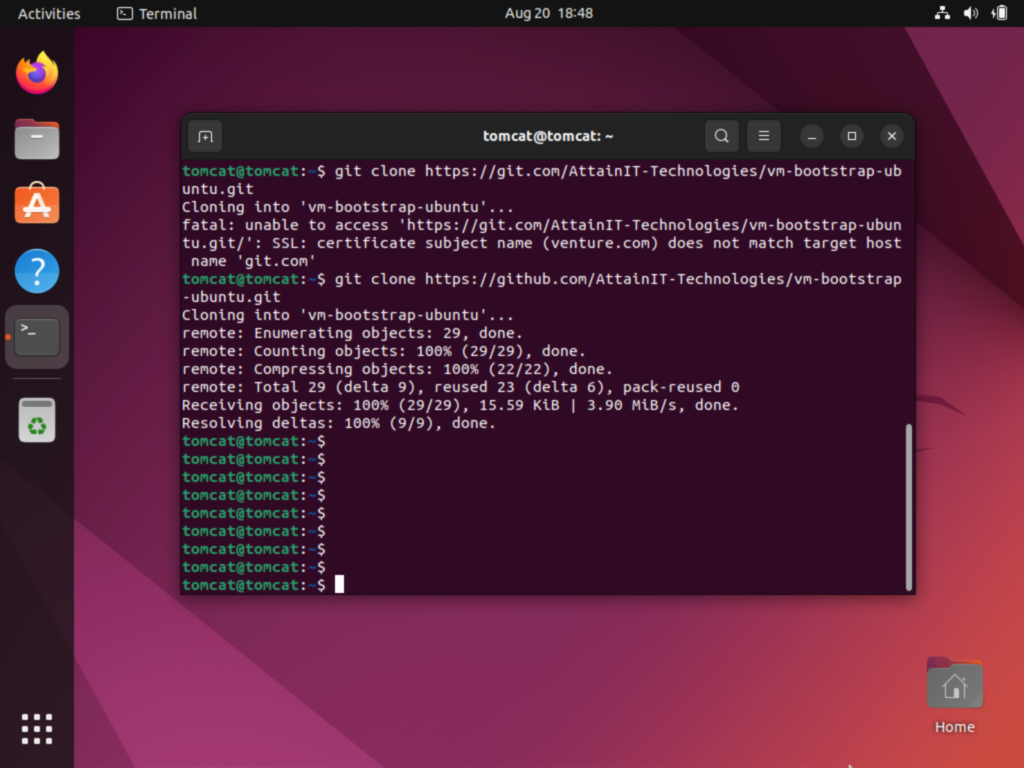
Finally we run the bootstrap script which will install java and ant, as well as download the source and setup the Tomcat build directory. The setup script is small and can be viewed here.
$ ./bootstrap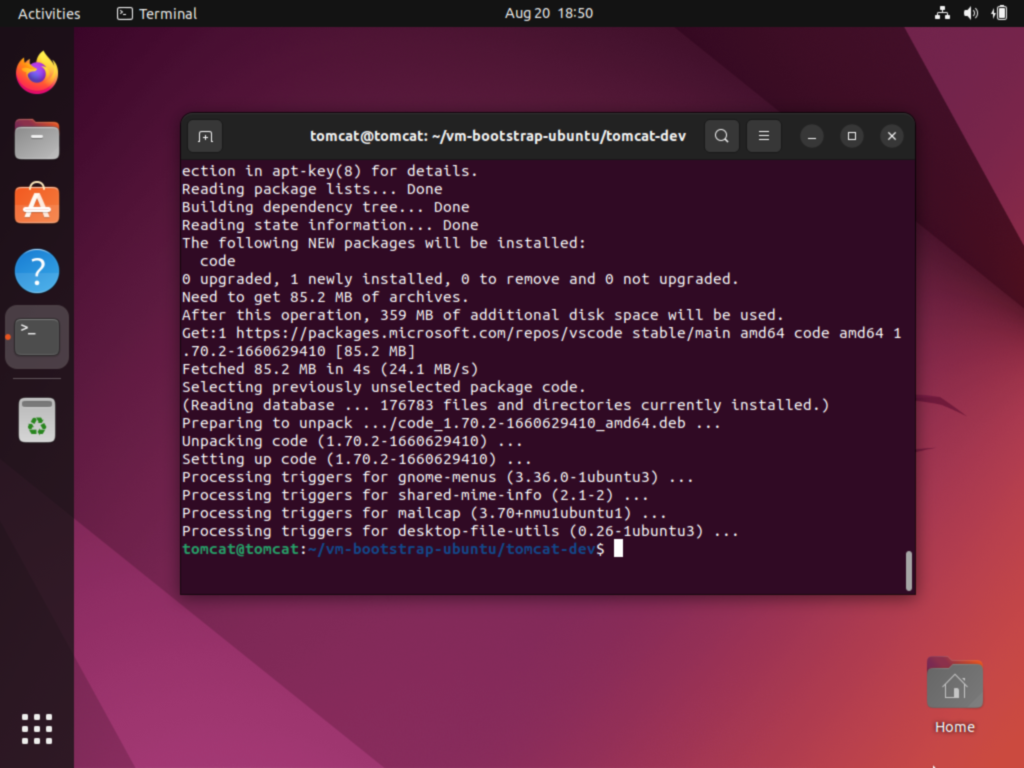
At this point we have completed our workstation setup and are ready to build Apache Tomcat from source.
Building Apache Tomcat from Source
Now that we have our workstation, we can build the source. Since we cloned the default branch, we have the main branch of Tomcat (most recent updates). Depending on your needs, you could replace this code with one of the other branches for Tomcat v8.x or 9.x releases.
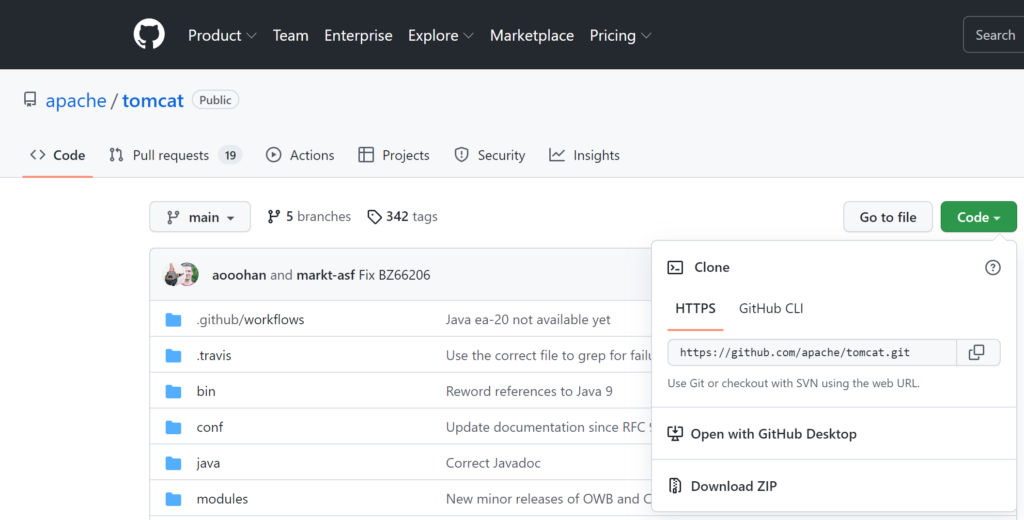
Compile the source by running the following commands:
$ cd $TOMCAT_SRC
$ ant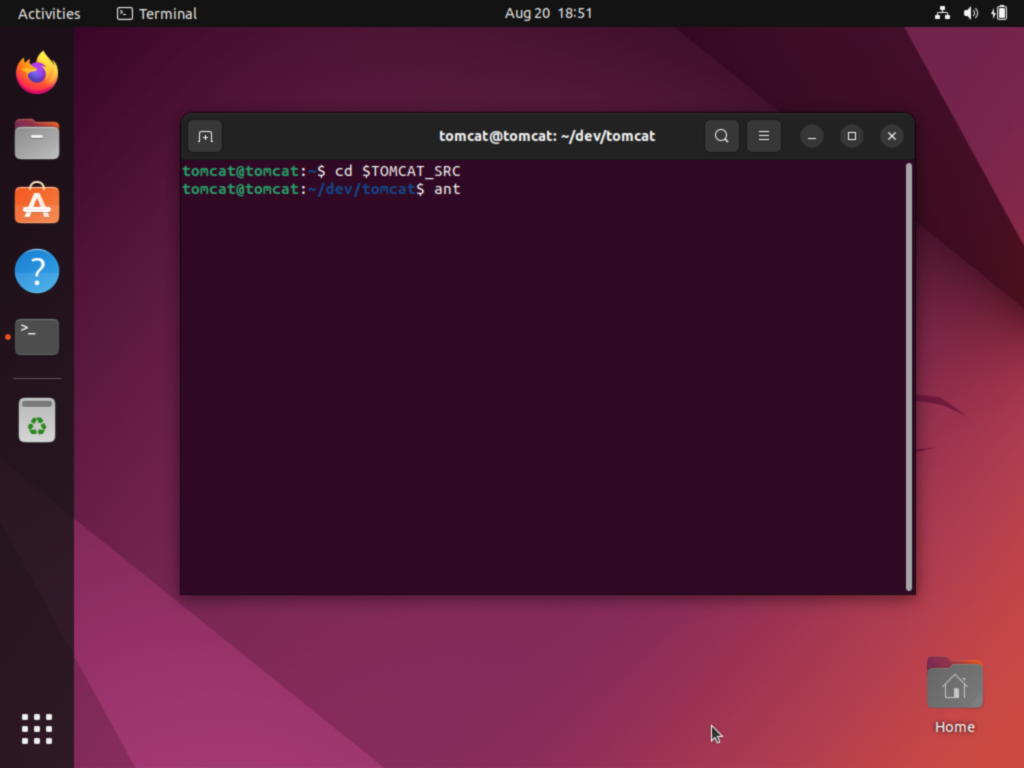
The build is a bit like jumping into a time machine, as it still uses Apache Ant for its build tool. Depending on your workstation’s horsepower, the build could take up to several minutes to complete.
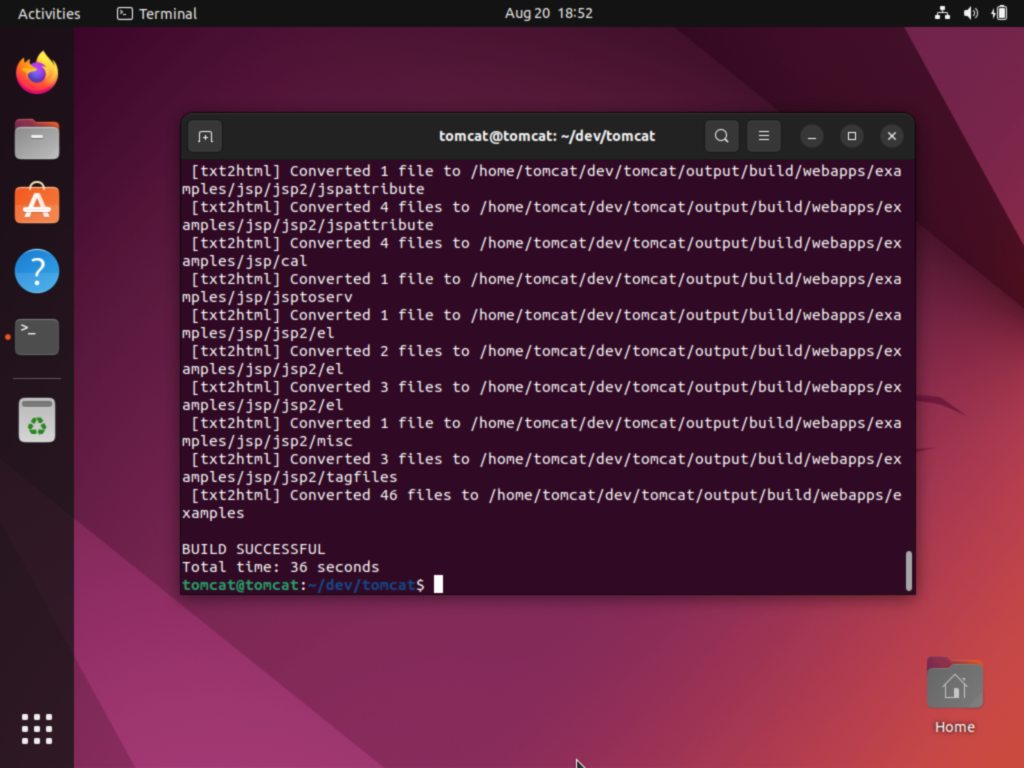
Once complete, you can change into the output directory and see the results.
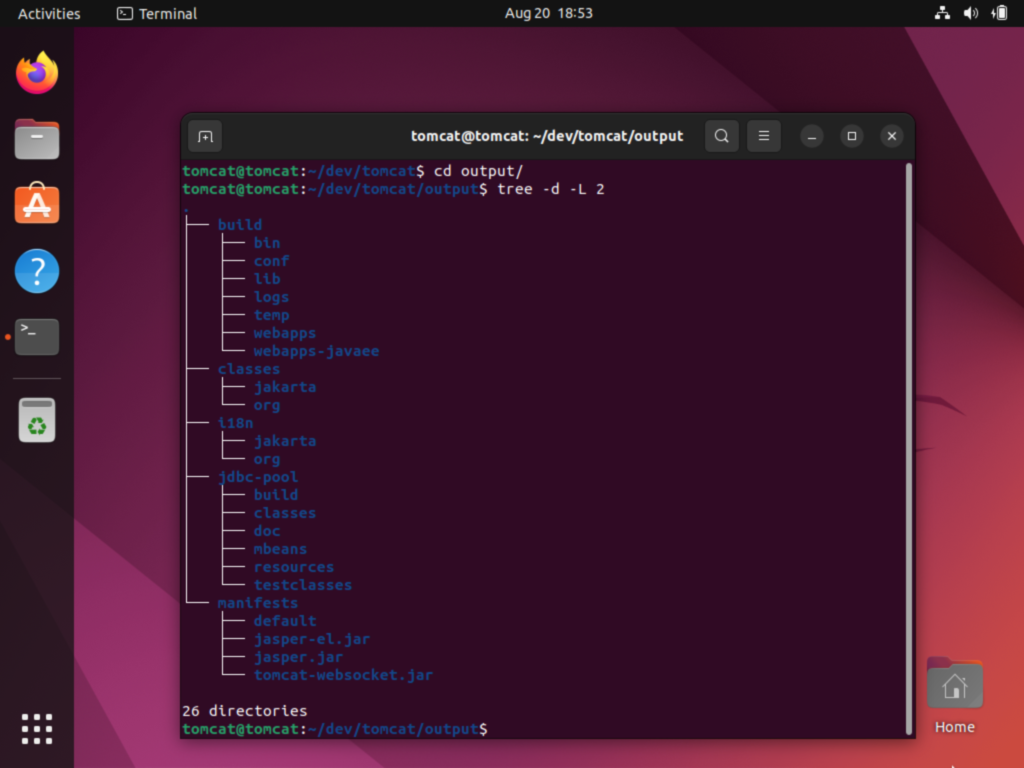
Looking at the build directory should look very familiar, as it is a standard Tomcat distribution as you would normally download directly from Apache.
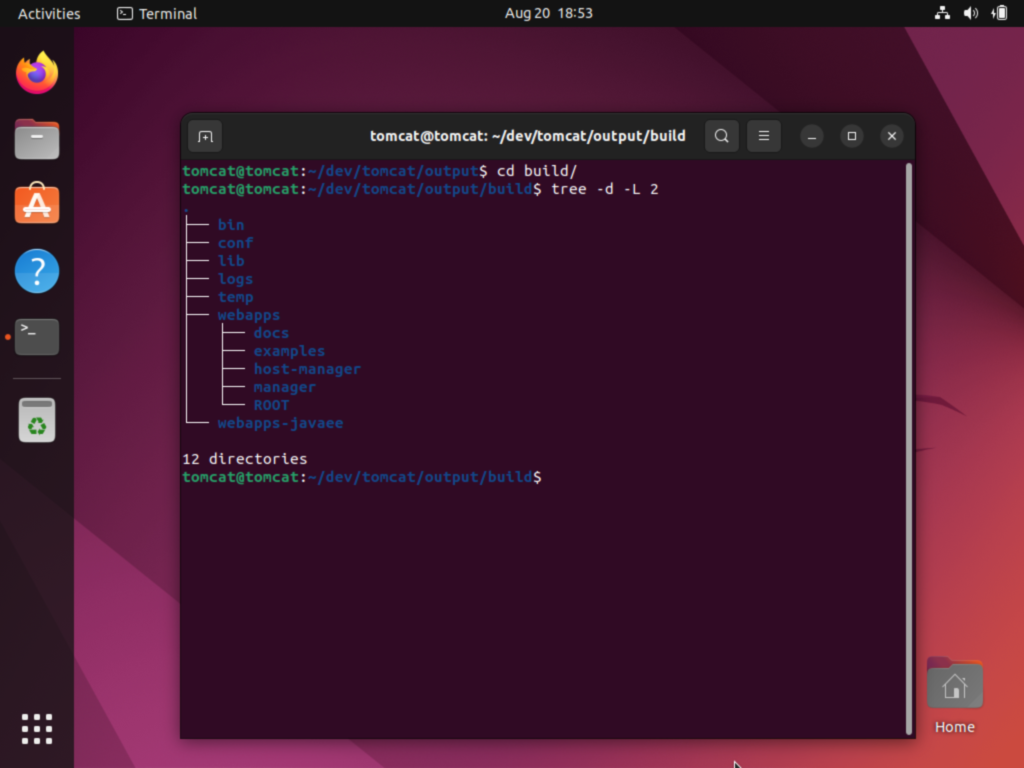
Since our source code has been compiled into executable binaries, lets continue on and launch our web container.
Running Apache Tomcat
Before launching our server, we should first check our version:
$ ./version.sh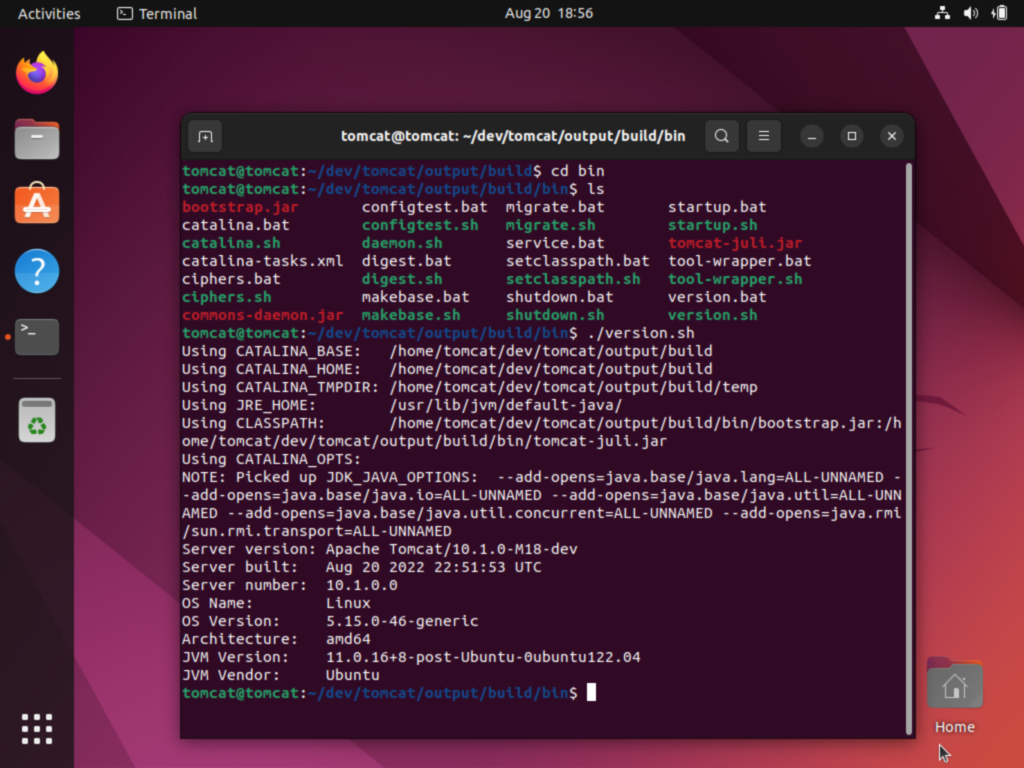
Buried in the results above you can see that we have built Apache Tomcat version 10.1.0-M18-dev. Launch the server by running startup:
$ ./startup.sh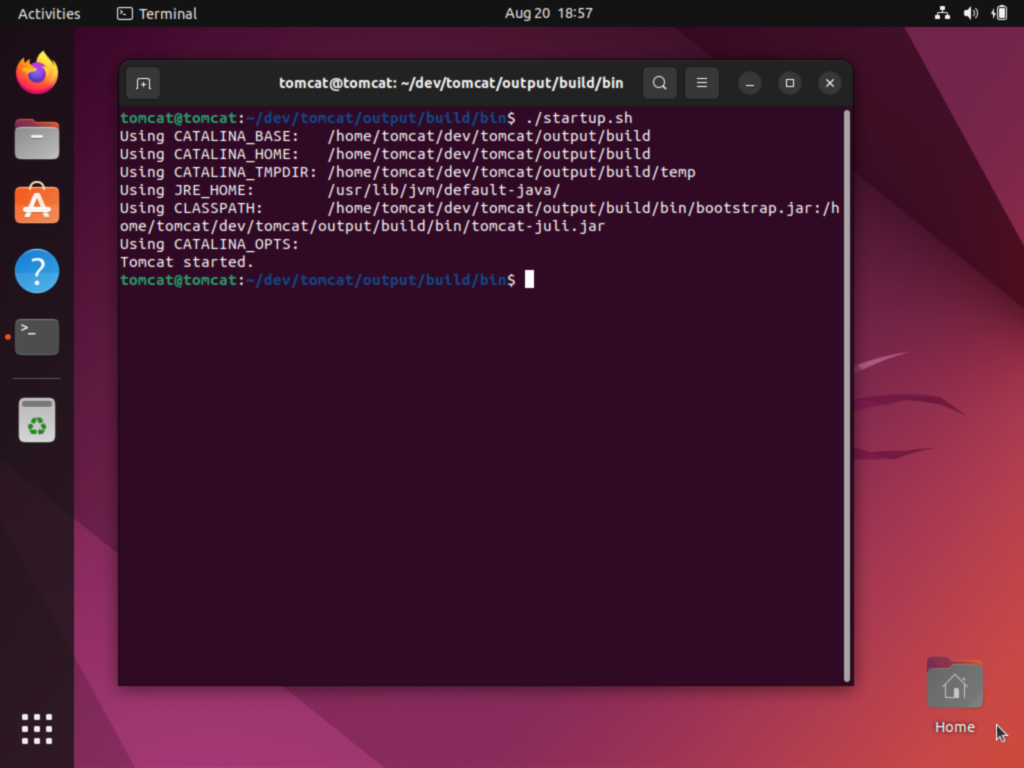
Finally, open the console in a browser:
https://localhost:8080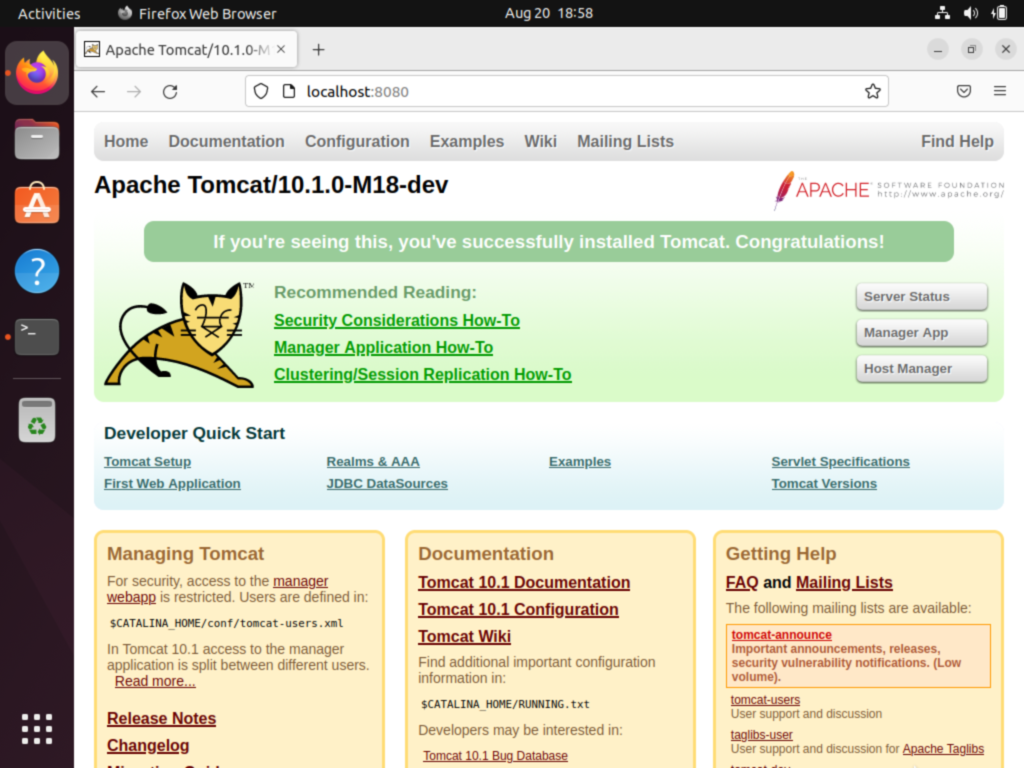
Congratulations, you have built the latest milestone release of Apache Tomcat.
Inspecting the Apache Tomcat Source
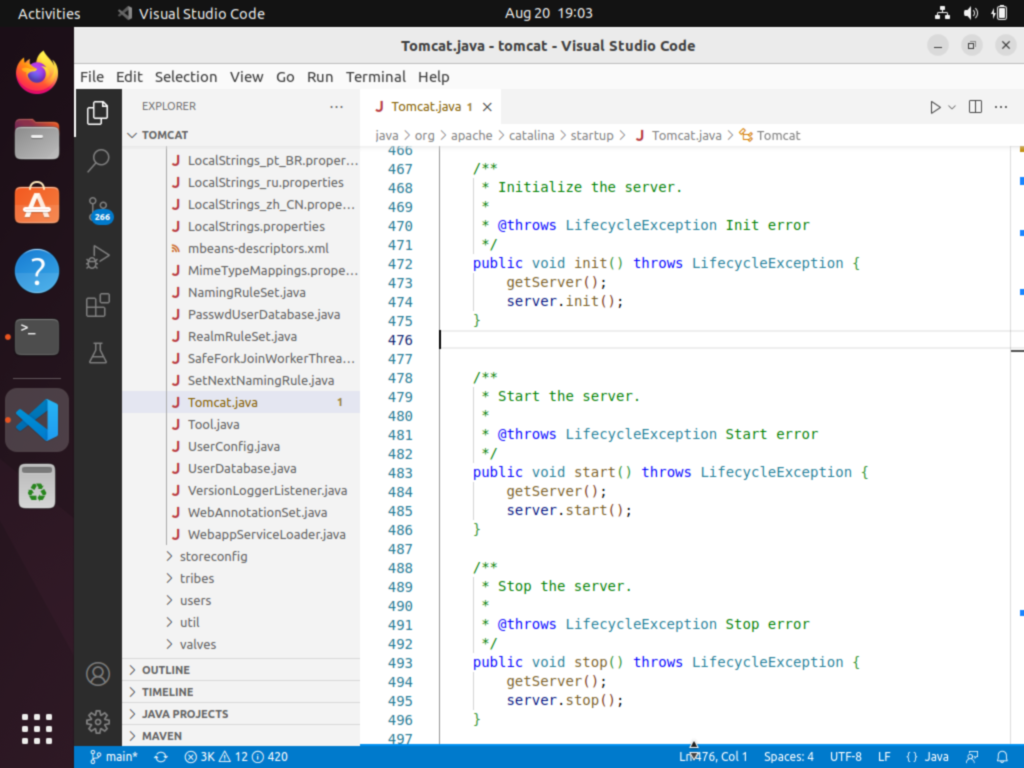
The bootstrap script also installs a recent copy of Microsoft Visual Studio Code. Use that IDE to inspect the Tomcat source code by running the following commands:
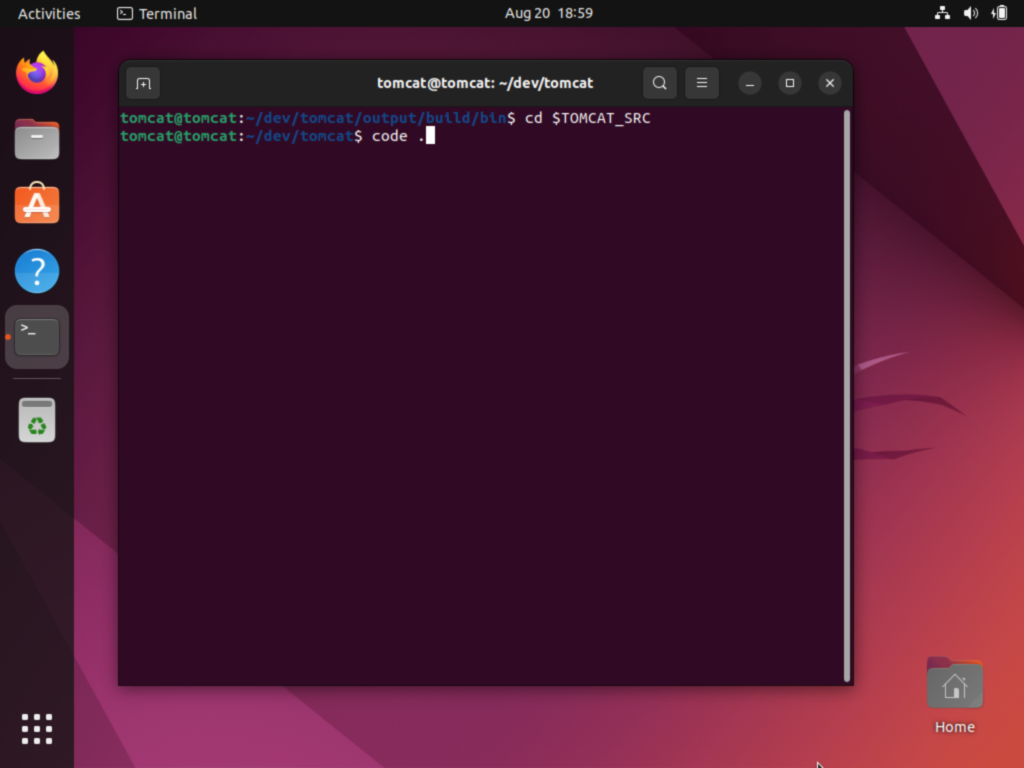
$ cd $TOMCAT_SRC
$ code .